Physics Homework: Analyzing Free Body Diagrams with AI
Struggling with free body diagrams? Learn how to identify forces, resolve components, and use AI screen assistance to check your physics homework step by step.
Try ScreenHelp Free
Get AI-powered screen assistance for any task. Analyze screenshots and get instant guidance.
Get StartedFree body diagrams (FBDs) are one of the most fundamental tools in physics — and one of the most common sources of frustration for students. Whether you're taking AP Physics, preparing for a university mechanics course, or studying for a certification exam, mastering FBDs is non-negotiable. In this article, we'll break down the essentials and show how AI tools can accelerate your understanding.
What Is a Free Body Diagram?
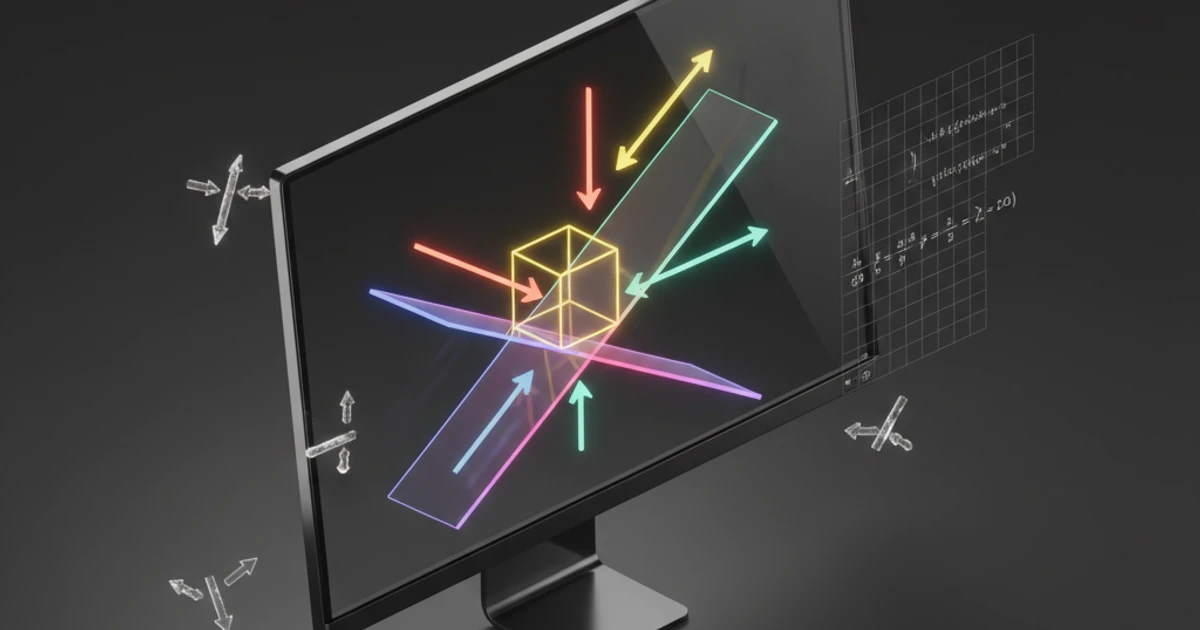
A free body diagram is a simplified sketch that shows a single object isolated from its environment, with arrows representing every force acting on it. The key word is every — missing even one force is the most common mistake students make.
FBDs are the bridge between a word problem and the math. Once you draw the diagram correctly, setting up Newton's second law equations (ΣF = ma) becomes almost mechanical.
The Forces You Need to Know
Before drawing any diagram, you need a solid mental checklist of forces to consider:
- Weight (W or mg): Always acts straight downward, toward the center of the Earth. Present on every object with mass.
- Normal force (N): Perpendicular to any surface the object is in contact with. It's a reaction force — it doesn't exist without contact.
- Friction (f): Parallel to the contact surface, opposing the direction of motion (or intended motion). Can be static or kinetic.
- Tension (T): Along a rope, string, or cable, pulling away from the object. Ropes can only pull, never push.
- Applied forces (F_app): Any external push or pull described in the problem.
- Spring force (F_s): Follows Hooke's law (F = -kx), directed toward the spring's equilibrium position.
- Air resistance / Drag: Opposes the direction of velocity. Often neglected in introductory problems unless stated.
Step-by-Step: Drawing a Free Body Diagram
Here's a reliable process that works for virtually any problem:
Step 1: Identify the Object of Interest
Isolate exactly one object. If the problem involves a block on a ramp being pulled by a rope attached to another block, you need separate FBDs for each block.
Step 2: Represent the Object as a Point or Simple Shape
Don't draw the whole scene. A dot or a small box in the center of your diagram is all you need.
Step 3: Identify All Contact Points and Fields
Ask: What is touching this object? Each contact point may produce a normal force and possibly friction. Then consider field forces (gravity, and in later courses, electric or magnetic forces).
Step 4: Draw Force Arrows from the Object
Each arrow should:
- Start at the object
- Point in the correct direction
- Be roughly proportional in length to the force's magnitude (if known)
- Be clearly labeled
Step 5: Choose a Coordinate System
For inclined planes, tilt your axes so that one axis is parallel to the surface and the other is perpendicular. This simplifies your math enormously because the normal force and friction align with your axes.
Step 6: Decompose Angled Forces
If any force doesn't align with your coordinate axes, break it into components. For a block on a ramp tilted at angle θ:
- Weight component parallel to ramp: mg sin θ
- Weight component perpendicular to ramp: mg cos θ
This is where many students mix up sine and cosine — a small conceptual error that cascades through the entire solution.
Common Free Body Diagram Scenarios
The Block on an Inclined Plane
This is the classic FBD problem. Forces include weight (straight down), normal force (perpendicular to the ramp surface), and friction (parallel to the ramp, opposing motion). If the block is sliding down, friction points up the ramp. If the block is being pushed up, friction points down.
Atwood Machine
Two masses connected by a rope over a pulley. Each mass gets its own FBD with weight pulling down and tension pulling up. The key insight: if the rope is massless and the pulley is frictionless, tension is the same throughout the rope.
Object in Circular Motion
Here's a common misconception: "centripetal force" is not a new force to add to your diagram. It's the net force directed toward the center of the circular path. The actual forces (tension, gravity, normal force) combine to produce the centripetal acceleration.
Hanging Signs and Static Equilibrium
When an object is at rest, ΣF = 0 in every direction. A sign hanging from two wires at different angles requires you to decompose both tension forces into x and y components, then set each sum to zero.
Where Students Go Wrong
After years of physics being taught in classrooms, the same mistakes appear again and again:
- Including "ma" as a force on the diagram. Newton's second law says ΣF = ma, meaning the result of all forces equals ma. It's not a separate force.
- Forgetting the normal force or placing it in the wrong direction (it must be perpendicular to the contact surface, not necessarily straight up).
- Drawing friction in the wrong direction. Friction opposes relative motion, not absolute motion. A box sitting in the back of an accelerating truck has static friction pointing forward.
- Adding fictional forces like "the force of motion" or "centrifugal force" (in an inertial reference frame).
- Mixing up sin and cos on ramps. Remember: the component along the longer triangle side (parallel to the ramp) uses sin θ, and the shorter side (perpendicular) uses cos θ, where θ is measured from the horizontal.
How AI Can Help You Study Free Body Diagrams
One of the most powerful ways to learn is to attempt a problem, then get immediate feedback on whether your approach is correct. This is where AI screen assistance comes in.
Tools like ScreenHelp work as an AI screen assistant — you share your screen, and the AI can see exactly what you're looking at. This is particularly useful for physics diagrams because:
- Visual problems need visual understanding. A text-based AI chatbot can't see the diagram in your homework PDF or your online physics simulation. An AI that can see your screen reads the same diagram you do.
- Step-by-step verification. You can draw your FBD, then ask the AI to check whether you've identified all forces correctly.
- Component decomposition checks. After breaking forces into components, you can ask the AI to verify your trigonometry — catching that sin/cos mix-up before it ruins the rest of your solution.
- Concept explanations on demand. Looking at a practice exam question about circular motion and unsure why there's no centrifugal force? The AI can explain the concept in context, using the actual problem on your screen.
With ScreenHelp, you can set up custom prompts tailored to physics study — for example, a prompt like "Identify all forces acting on the highlighted object and check if my free body diagram is correct." Then trigger it with a keyboard shortcut anytime you're working through problems.
Practice Problems to Try
The best way to get better at free body diagrams is deliberate practice. Here are scenarios to work through:
-
A 5 kg block rests on a 30° incline with friction (μ_s = 0.4). Draw the FBD and determine whether the block slides.
-
Two blocks (3 kg and 7 kg) are connected by a string on a frictionless table, and a 50 N force pulls the 7 kg block. Draw FBDs for both blocks and find the tension in the string.
-
A 2 kg ball swings in a horizontal circle on a 1.5 m string at 3 m/s. Draw the FBD at some instant and find the tension.
-
A 10 kg box sits on the floor of an elevator accelerating upward at 2 m/s². Draw the FBD and calculate the normal force.
For each problem, draw your diagram first, set up the equations, solve — and then check your work. If you're using ScreenHelp, simply share your screen and ask the AI to review your solution.
From Diagrams to Mastery
Free body diagrams aren't just an academic exercise you forget after the exam. They're the conceptual foundation for everything in mechanics — from engineering statics to orbital mechanics to biomechanics. Every complex simulation in aerospace or structural engineering starts with the same skill you're building now: correctly identifying and representing forces.
The habit of drawing an FBD for every problem — even when it feels unnecessary — is what separates students who truly understand physics from those who memorize formulas and hope for the best.
Keep practicing, use every tool at your disposal to verify your understanding, and remember: in physics, the diagram is often more important than the equation.
Start Using AI Screen Assistance Today
Join thousands of users who are already working smarter with ScreenHelp.
Related Articles

Cell Biology Explained: Analyze Diagrams on Your Screen with AI
Struggling with complex cell biology diagrams? Learn key structures, functions, and how AI screen assistants can help you study organelles and processes faster.
Read article
Mastering Physiology: How AI Vision Simplifies Complex Systems
Struggling with physiology diagrams and feedback loops? Learn how AI screen assistants can break down complex body systems and accelerate your understanding.
Read article
Analyze Poetry and Literature Themes Visually with AI Screen Assistance
Struggling with poetry analysis or literature themes? Learn how visual approaches and AI screen assistants can deepen your understanding of complex literary texts.
Read article